


Supplies:
- Card stock in color of your choice
- Fun shape to trace
- Possibly a scanner/printer
- Scissors
- Ribbon
- Photo squares
- Hot Glue Gun
- Alphabet stickers or a stencil
Directions:
- First start off by finding a fun shape that you would like to use for the sign. I actually used a shape that I got off of my Vera Bradley Planner. I had kept this little ribbon thing attached to the front cover of my planner because I really liked the shape of the little tag on it. I am glad that I did because I realized that it was the shape that I had been wanting to use for signs but couldn't find anywhere. So I traced it on paper and then had Aran copy it on our printer and make it bigger.

- Then I cut out the bigger shape and traced it onto the paper that I was wanting to use.
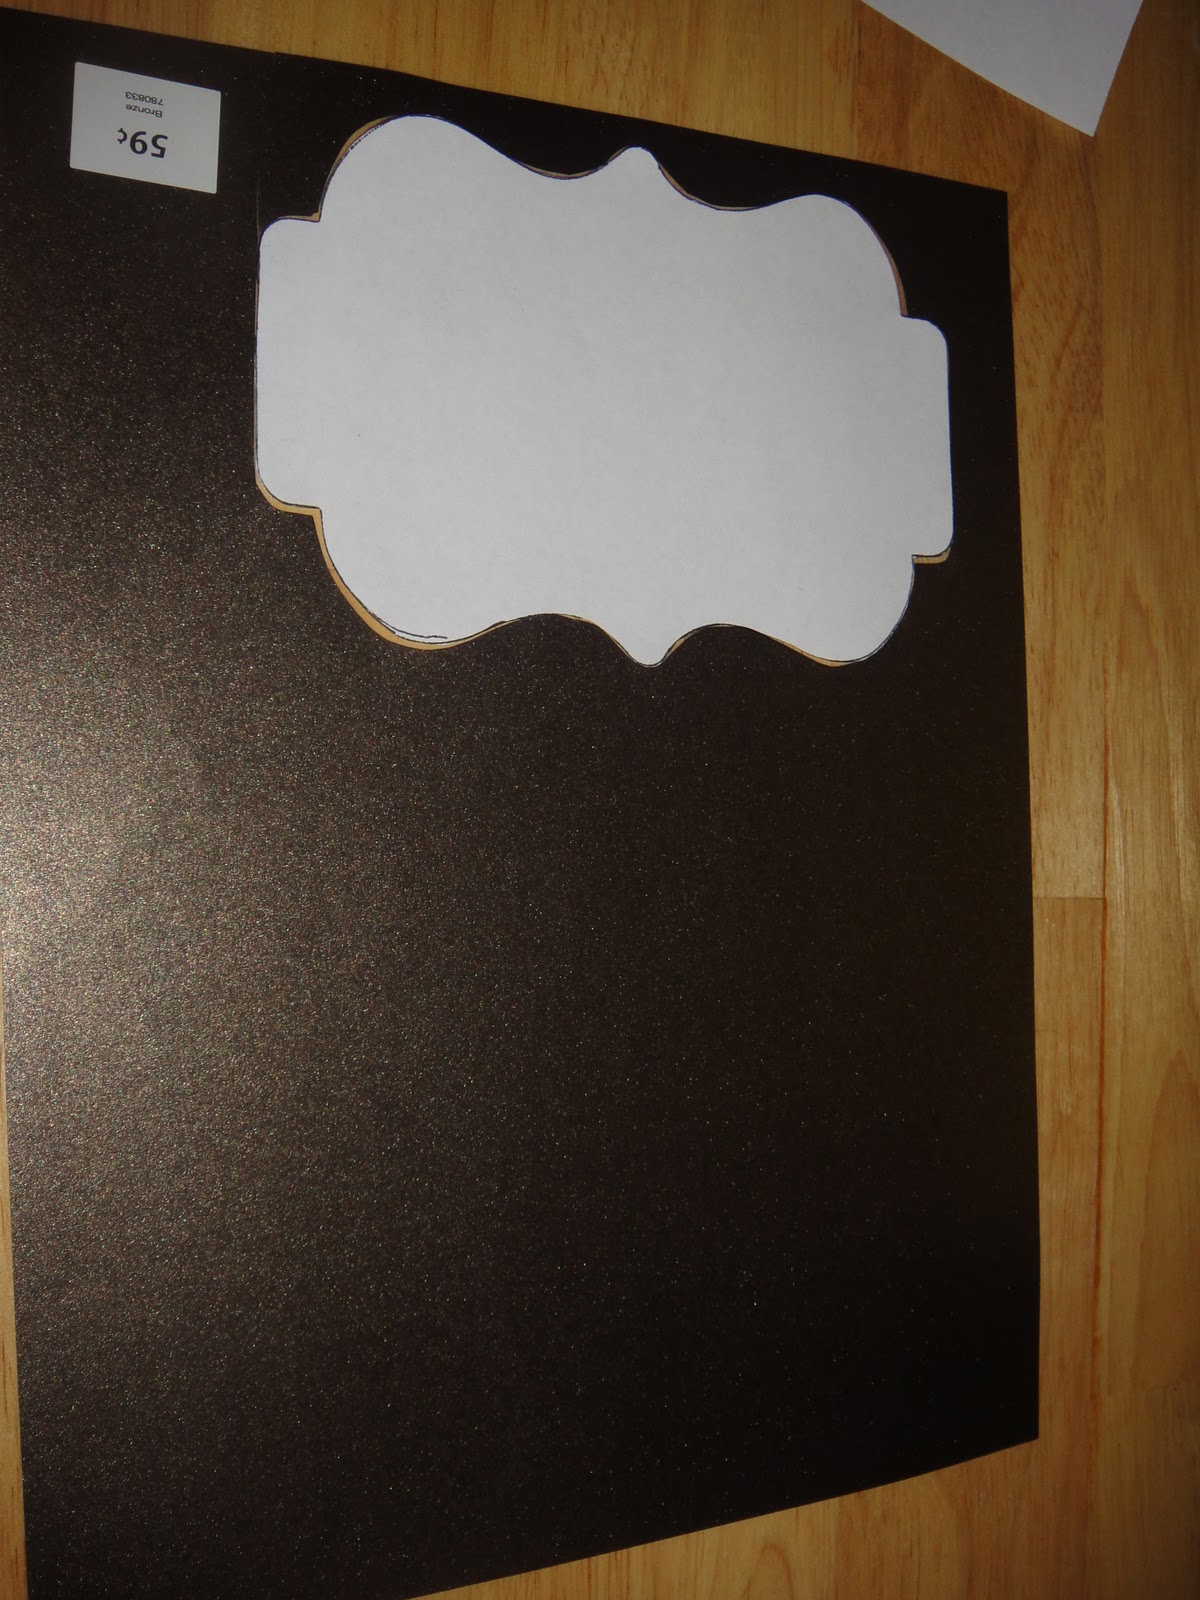
- Then I cut it out.


- Once I had it cut out, I put my ribbon together. I wanted to use two different colors of ribbon so I found a thicker pink ribbon that I liked and then a smaller brown ribbon with a pattern on it. I centered the brown ribbon in the middle of the pink ribbon and I used photo squares(pretty much double sided stick squares) to pretty much glue the ribbons together without having huge bulges from glue.

- Once I had the ribbon put together, I attached it to one side of the sign using the photo squares again. Then I took the ribbon and wrapped it all the way around the bird cage to make sure that I had the right length of ribbon before I cut it.
- Once I knew how much ribbon I needed, I cut my ribbon to the right length.
- I went ahead and attached my letters to the sign so that it read "CARDS." I bought puffy alphabet stickers from Archiver's, but you could use a stencil too and cut out the letters from another color of card stock that matches.

- I then started to attach it to the bird cage. I did this by first attaching the sign on the front of the cage where I wanted it. Make sure you only attach one side though so that you can put your ribbon underneath the other side as you bring it around.I did this with a little bit of hot glue.
- Once the sign was where i wanted it, I started attaching the ribbon around the cage. I did this with a little drop of hot glue on each small bar on the cage.


- When I got to the front, I finished putting the ribbon on with hot glue, and then I attached the other side of the sign over the top of the ribbon. This made it look like a solid band going all the way around.
- Once this is finished, you are done.
 |
| Completed look |
 |
| Side view |
I am also planning on using the same shape to make the smaller signs for each of our candy jars so that our guests know what candy they can choose from.
I hope that you guys can find this useful. If you are confused about any of the steps that I have listed or just have questions in general, please feel free to leave me a comment or email me @ mdvervaecke@gmail.com.
I hope that you guys can find this useful. If you are confused about any of the steps that I have listed or just have questions in general, please feel free to leave me a comment or email me @ mdvervaecke@gmail.com.


No comments:
Post a Comment
Comments are way rad and totally make my day. I love reading each and everyone one of them :)